If you want to start selling products on Amazon, CJDropshipping could be the perfect solution for you. In this article, we’ll take you step-by-step through “How to connect CJDropshipping to Amazon”. This will enable you to launch your online store hassle-free and efficiently.
Understanding CJDropshipping

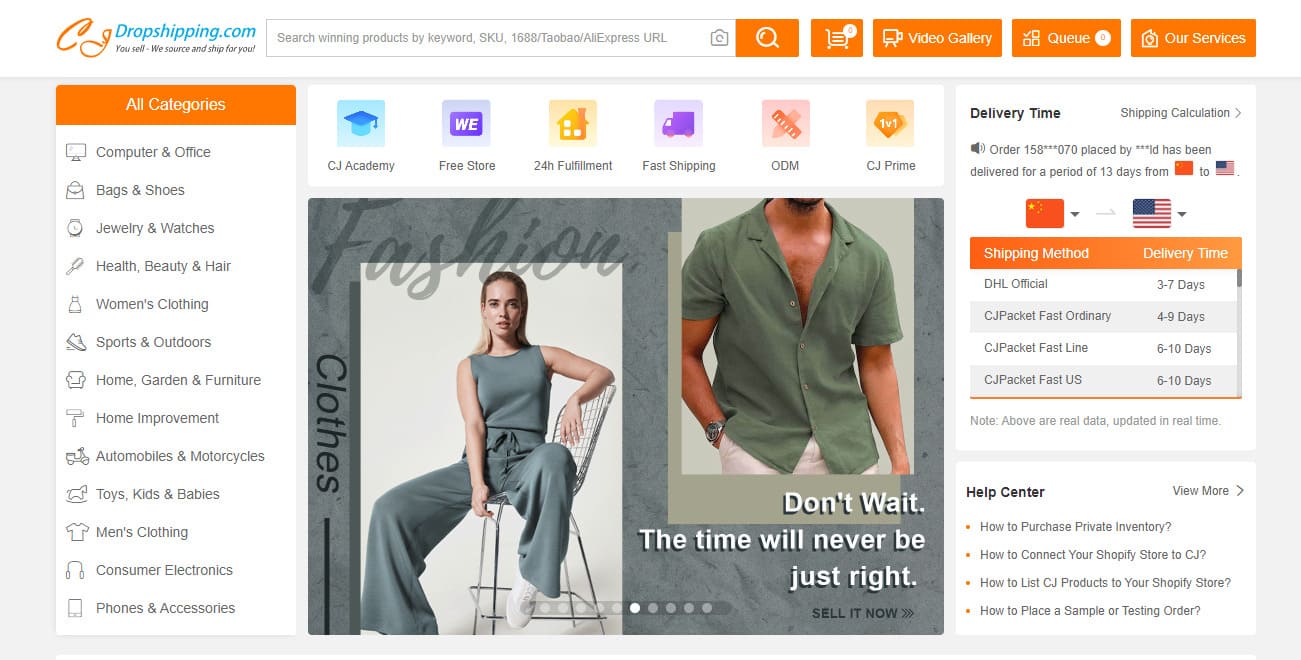
CJDropshipping is a Chinese e-commerce platform, established in 2014, that acts as an intermediary between suppliers and e-tailers, particularly dropshippers.
Comparable to AliExpress, it offers a wide variety of products from thousands of niches, enabling it to meet the needs of as many people as possible. One of its main assets is its short delivery times and the quality of the products on offer.
CJDropshipping's key features
In addition to providing a rich catalog, CJDropshipping facilitates your business by taking care of all logistics, from packaging to shipping. You, as a dropshipper, are primarily responsible for managing your online store and promoting your products.
CJDropshipping can be connected to various e-commerce platforms such as Shopify, WooCommerce, eBay, Wix, Adobe Commerce, Etsy, ShipStation, and Shoplazza. For other platforms, the API of your online store can be used for integration.
In addition to its core functionality, CJDropshipping also offers services such as :
- print-on-demand
- packaging personalization
- creation of professional product photos and videos
- quality control
- order management
However, it should be noted that although CJDropshipping is an excellent choice for intermediate dropshippers due to its short delivery times, it can be a little complex for beginners.
To find out more about CJDropshipping and how to use it effectively, we recommend you read our dedicated article.
Setting up your CJDropshipping account
Before you can connect CJDropshipping to Amazon, you must first have a CJDropshipping account. Here’s how to set it up:
- Register: Go to the CJDropshipping website and click on “Register” to create your account. You can register using your e-mail address or your Google, Facebook or LinkedIn account.
- E-mail verification: Once you have entered your information, CJDropshipping will send you a verification e-mail. Click on the link in the e-mail to verify your account.
- Profile configuration: After verifying your account, log in and go to “My CJ” > “Profile” to configure your profile. Here you can enter your personal and company information, upload your profile and cover photo, and add your delivery addresses.
- Store setup: Next, go to “My CJ” > “Authorized Shop” to add your store. You can link CJDropshipping to your store on Shopify, WooCommerce, eBay, Wix, Adobe Commerce, Etsy, ShipStation, Shoplazza, or use your online store API.
- Payment configuration : Finally, configure your payment information by going to “My CJ” > “Billing” > “Payment methods”. CJDropshipping accepts payment by PayPal, credit card, bank transfer and Payoneer.
Now that your CJDropshipping account is set up, you’re ready to connect CJDropshipping to Amazon.
How do I connect CJDropshipping to Amazon?

Connecting CJDropshipping to Amazon can be done in a few simple steps. Note that you will need an Amazon Seller account to complete this process. Here’s how to proceed:
- Log in to your CJDropshipping account: Go to the CJDropshipping website and log in to your account.
- Access the CJDropshipping API: Go to “My CJ” > “CJDropshipping API” to access the CJDropshipping API. You’ll need this API to connect CJDropshipping to Amazon.
- Copy your API key: In the CJDropshipping API, you’ll see an API key. Copy this key, as you’ll need it later.
- Log in to your Amazon Seller account: In a new window, go to the Amazon Seller site and log in to your account.
- Access the Amazon Seller API: In Amazon Seller, go to “Settings” > “Authorization Management” > “Authorize Developer” to access the Amazon Seller API.
- Enter the developer’s details: In the Amazon Seller API, you’ll need to enter the developer’s details. For the developer name, enter “CJDropshipping”, and for the developer ID key, paste the API key you copied in step 3.
- Authorize CJDropshipping: Next, select the authorizations you wish to grant CJDropshipping, such as inventory and order management, then click “Next” to authorize CJDropshipping to connect to your Amazon Seller account.
That’s it! You’ve successfully connected CJDropshipping to Amazon. Now you can start adding CJDropshipping products to your Amazon store and start selling!
Minimizing risk
To minimize risks when using CJDropshipping and Amazon, we recommend following these tips:
- Choose your products carefully: Make sure the products you sell are of good quality and comply with Amazon’s policies.
- Check delivery times: CJDropshipping is known for its short delivery times, but they can vary depending on the product and the supplier. Always check delivery times before adding a product to your store.
- Keep an eye on inventory: Use CJDropshipping’s inventory management tools to avoid stock-outs and delivery delays.
- Plan for adequate profit margins: When pricing your products, don’t forget to factor in Amazon and CJDropshipping fees to ensure you make a profit.
Conclusion
In this article, you’ve learned how to connect CJDropshipping to Amazon to optimize your dropshipping operations. This process enables you to offer a wide range of products, provide quality customer service and manage your inventory efficiently.
However, we would like to remind you that although this guide provides a clear answer to the question “How do I connect CJDropshipping to Amazon?”, there are many other aspects to consider in order to succeed in dropshipping. From product selection to marketing strategy, every element plays a crucial role in your success.
To continue learning and improving, we invite you to explore our blog. Whether you’re an e-commerce novice or expert, our rich and varied content will provide you with tips, guides and valuable information to boost your online business.

1 thought on “How to Connect CJDropshipping to Amazon”
hello, hope alls well.
step 5 is a problem beacause i cannot find the authorization management after – “Settings” > “Authorization Management” > “Authorize Developer” to access the Amazon Seller API. May you please help me out!
Love & Guidance